[v2.5] 5. Group Mapping
The group mapping of Flexible User License proceeds as follows.
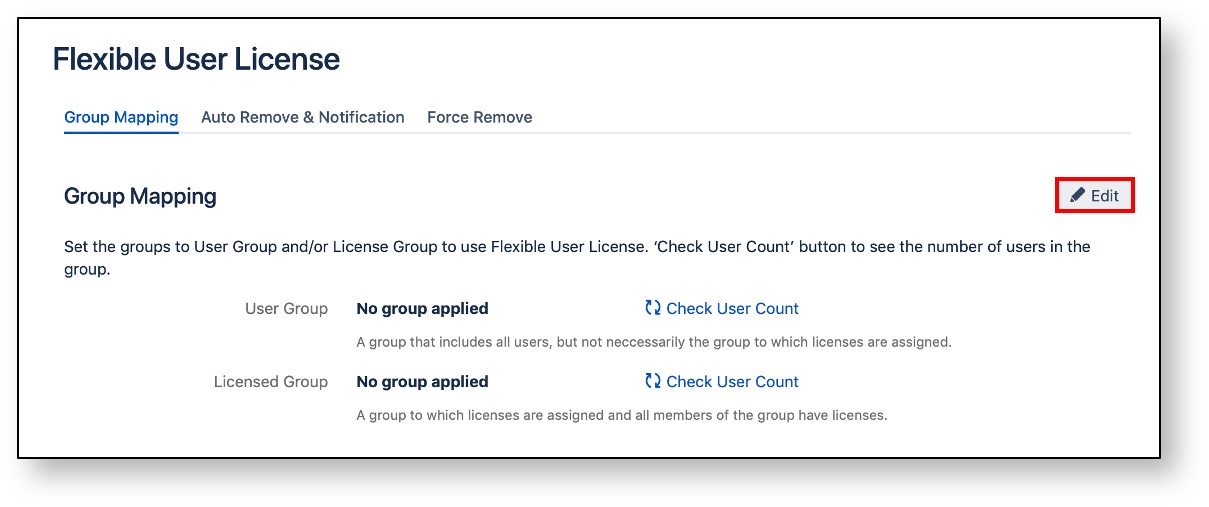
1. Click the [Edit] button at the top right of the 'Group Mapping' tab.
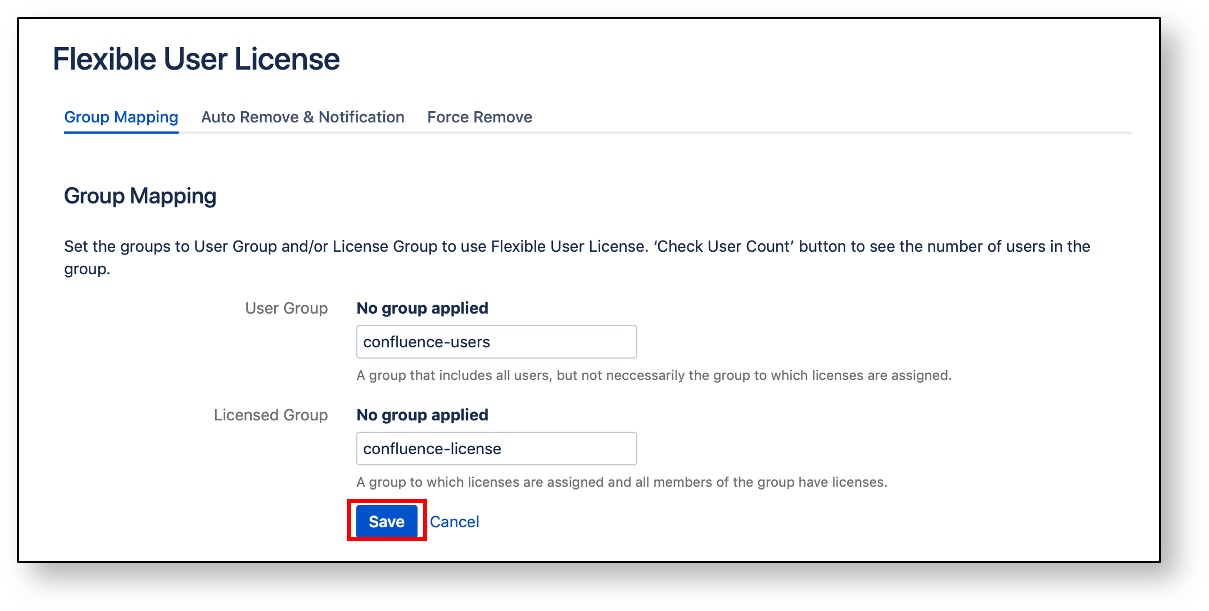
4. When the group settings are complete, click the [Save] button to save.
When the group mapping is completed, you can check the number of members per group through [Check User Count] button.
1 . Click the [Check User Count] button to the right of the user group to check the number of members in the user group.
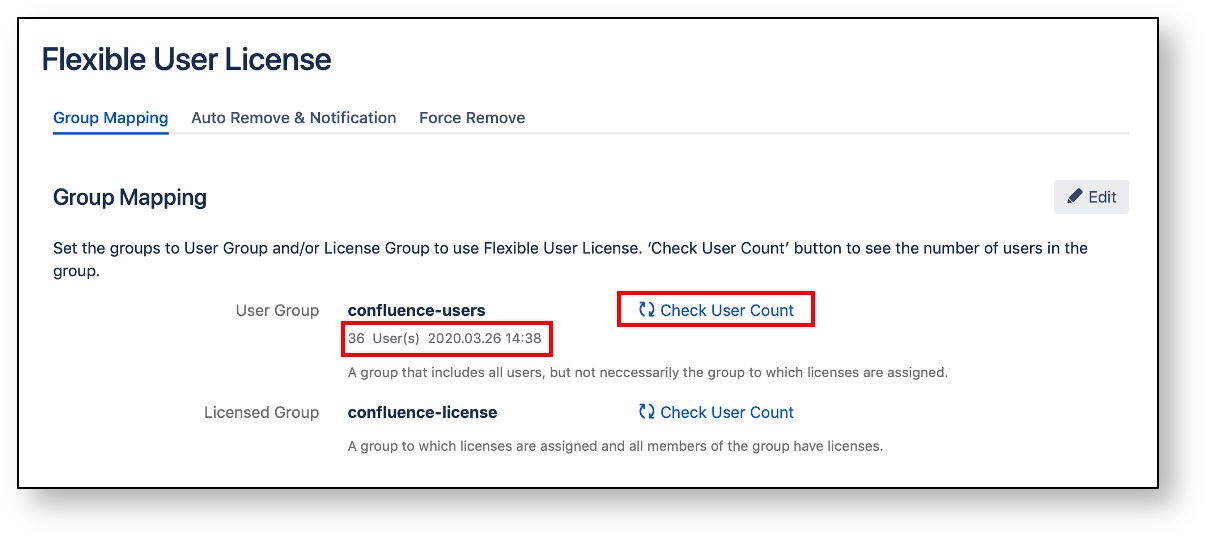
2. You can also check the number of members in the licensed group through the [Check User Count] button.

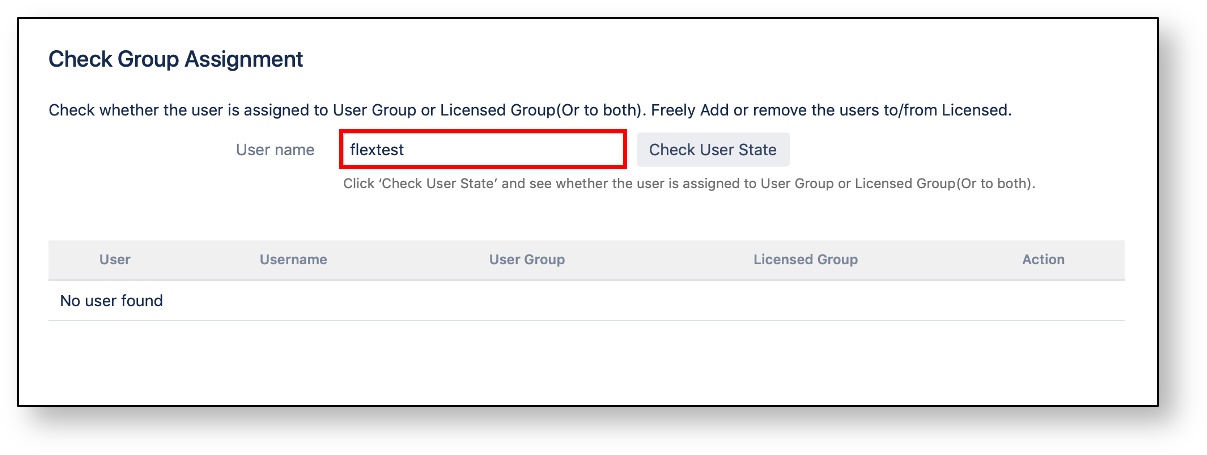
5.2 Check Group Assignment
You can check the group to which the user belongs to through the ‘Check Group Assignment’ menu, and you can add or remove users from the licensed group.
1. Enter the user name you want to check in the 'User name' field.

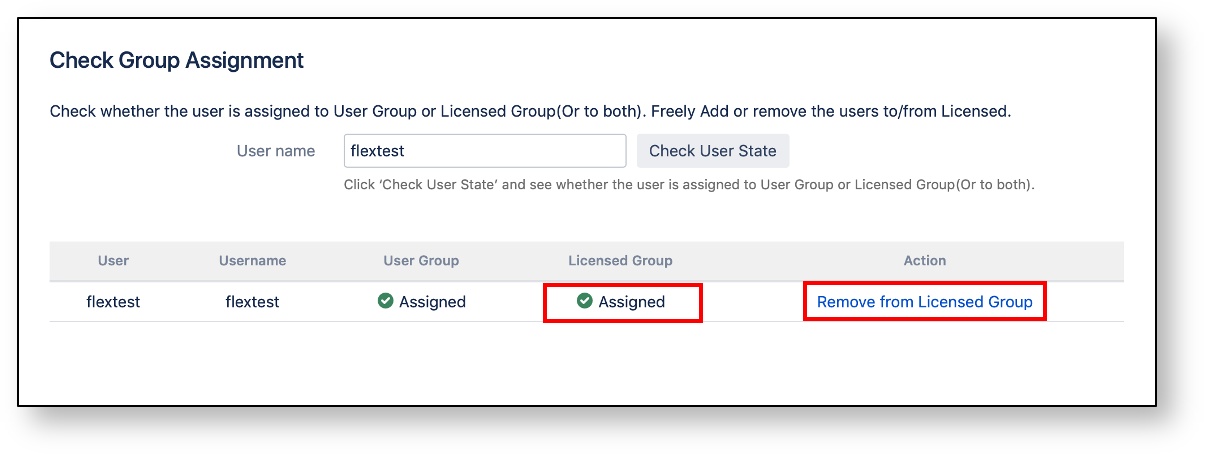
3. If the user exists in the licensed group, 'Assigned' is displayed and the [Remove from Licensed Group] button appears. The user can be removed from the licensed group by clicking the button.
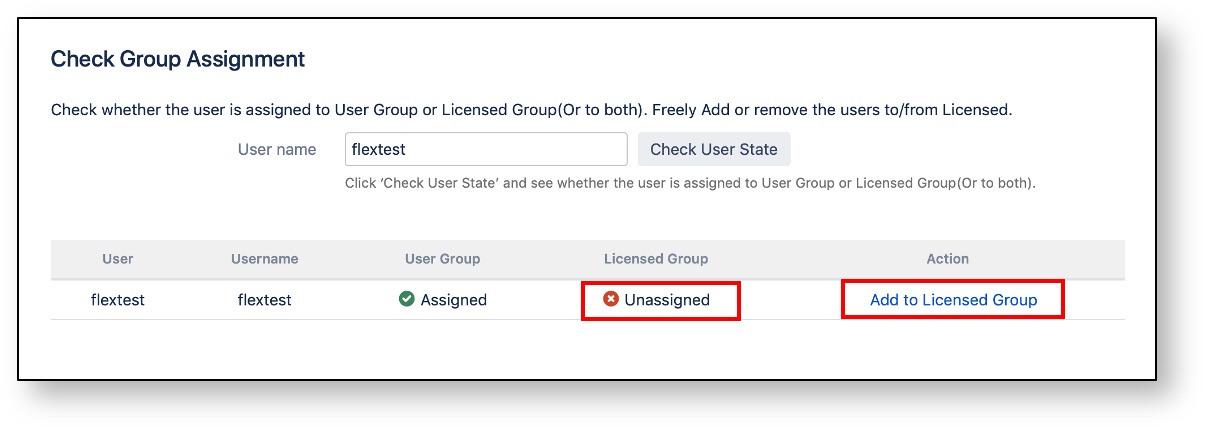
4. Also, if the user does not exist in the licensed group, 'Unassigned' is displayed and the [Add to Licensed Group] button appears. The user can be added to the licensed group by clicking the button.
Copyright © 2020 Open Source Consulting, Inc. All Rights Reserved.